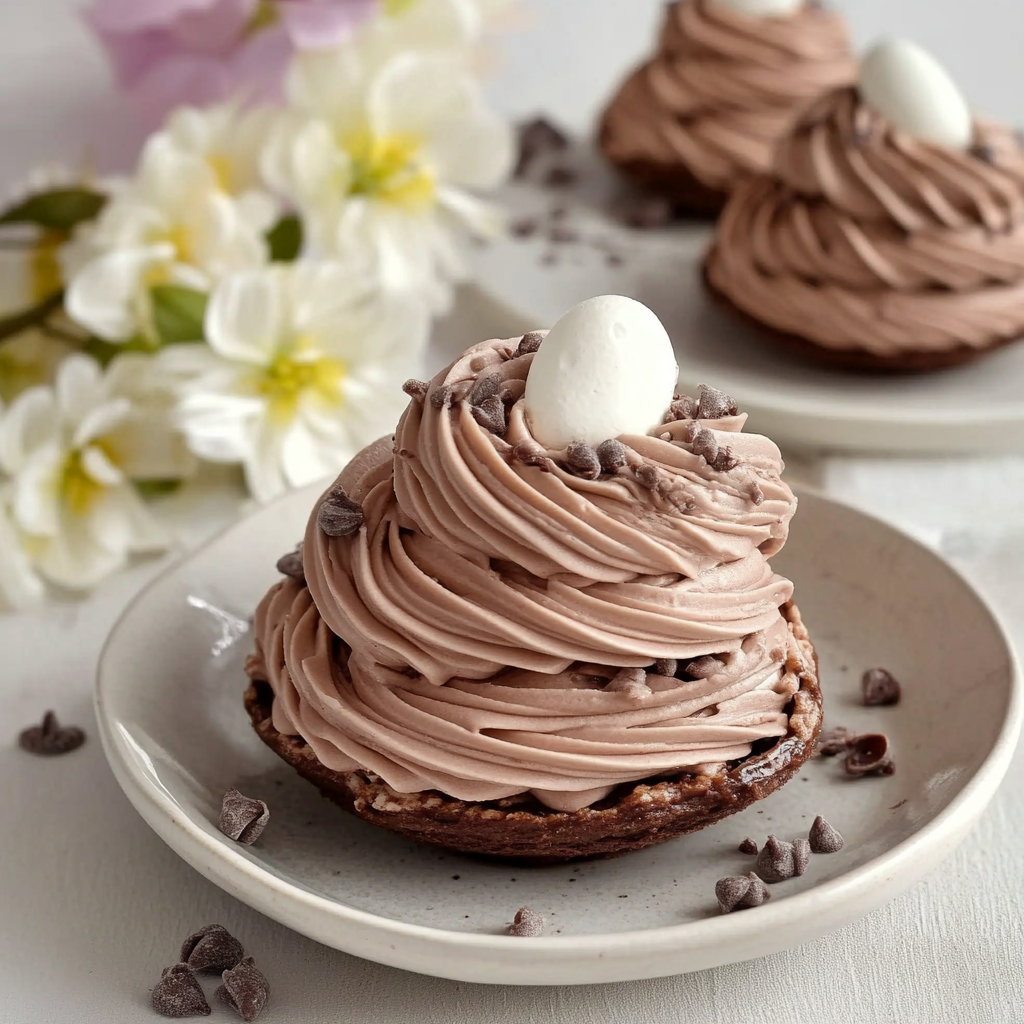
The smell of chocolate wafting through the air is enough to make anyone smile, but when it’s combined with airy meringue and a sprinkle of colorful candy eggs, you’ve got a dessert that brings joy in every bite. These Chocolate Meringue Easter Nests are not just a feast for the palate; they’re a whimsical treat that can turn any gathering into an egg-cellent celebration.
Jump to:
- <strong>Essential Ingredients</strong>
- <strong>Let’s Make it together</strong>
- <strong>Perfecting the Cooking Process</strong>
- <strong>Add Your Touch</strong>
- <strong>Storing & Reheating</strong>
- <strong>FAQ</strong>
- What should I do if my meringue is too runny?
- Can I use powdered sugar instead of granulated sugar?
- How can I tell when my meringues are done baking?
- 📖 Recipe Card
Growing up, my kitchen was always filled with laughter and flour-covered counters during the Easter season as we whipped up these delightful nests. The anticipation of cracking into that crunchy exterior to reveal the soft and fluffy interior made each bite an adventure. Trust me; these nests are so good they’ll have you wondering if you should share or keep them all to yourself!
Why You'll Love This Recipe
- These Chocolate Meringue Easter Nests come together easily with minimal ingredients, making them perfect for last-minute treats
- Their airy texture and rich chocolate flavor create a delightful contrast that everyone will love
- Decorated with colorful candies, they’re visually appealing and perfect for festive occasions
- Plus, they’re gluten-free and can be made ahead of time!
I remember the first time I made these nests; my friends’ faces lit up like kids on Christmas morning when they saw them on the dessert table.

Essential Ingredients
Here’s what you’ll need to make this delicious dish:
- Egg Whites: Use fresh egg whites for best results; they whip up beautifully without any yolk contamination.
- Granulated Sugar: Fine granulated sugar dissolves quickly in the egg whites for a smooth meringue texture.
- Cocoa Powder: Choose unsweetened cocoa powder for rich chocolate flavor without adding extra sweetness.
- Vanilla Extract: Pure vanilla extract enhances the flavor profile; avoid imitation for better quality.
- Chocolate Chips: Semi-sweet chocolate chips add indulgence; consider using dark chocolate for a richer taste.
- Colorful Candy Eggs: Mini candy eggs or jelly beans are perfect for decorating your nests; choose vibrant colors!
The full ingredients list, including measurements, is provided in the recipe card directly below.
Let’s Make it together
Preheat Your Oven: Preheat your oven to 225°F (110°C). Line two baking sheets with parchment paper to prevent sticking.
Whip Those Egg Whites!: In a clean mixing bowl, beat the egg whites on medium speed until frothy. Gradually add sugar while continuing to beat until stiff peaks form and the mixture is glossy.
Add Cocoa and Vanilla: Gently fold in cocoa powder and vanilla extract using a spatula. Be careful not to deflate those lovely egg whites as you mix!
Create Nest Shapes: Using a spoon or piping bag, dollop or pipe small mounds onto your prepared baking sheets. Use the back of a spoon to create an indent in each mound — this will hold your candy eggs later.
Bake Until Perfectly Crispy: Bake in your preheated oven for about 1 hour and 15 minutes. The nests should be dry and easily peel away from the parchment paper when done.
Cool Down & Decorate!: Once baked, allow your nests to cool completely on wire racks before gently placing candy eggs into each nest. Enjoy their charming appearance before devouring!
These Chocolate Meringue Easter Nests are sure to impress any crowd! With their light-as-a-feather texture contrasted by rich chocolate goodness, they’re a guaranteed hit at any gathering!
You Must Know
- These Chocolate Meringue Easter Nests are not just adorable; they make your taste buds dance!
- The combination of crunchy meringue and silky chocolate creates a delightful treat perfect for any spring celebration
- Plus, they’re easy to customize with your favorite candies, making them even more fun!
Perfecting the Cooking Process
Start by whipping the egg whites until stiff peaks form, then gradually fold in sugar. Bake at a low temperature for a long time to ensure that the meringue dries out properly and develops that crisp texture we all love.
Add Your Touch
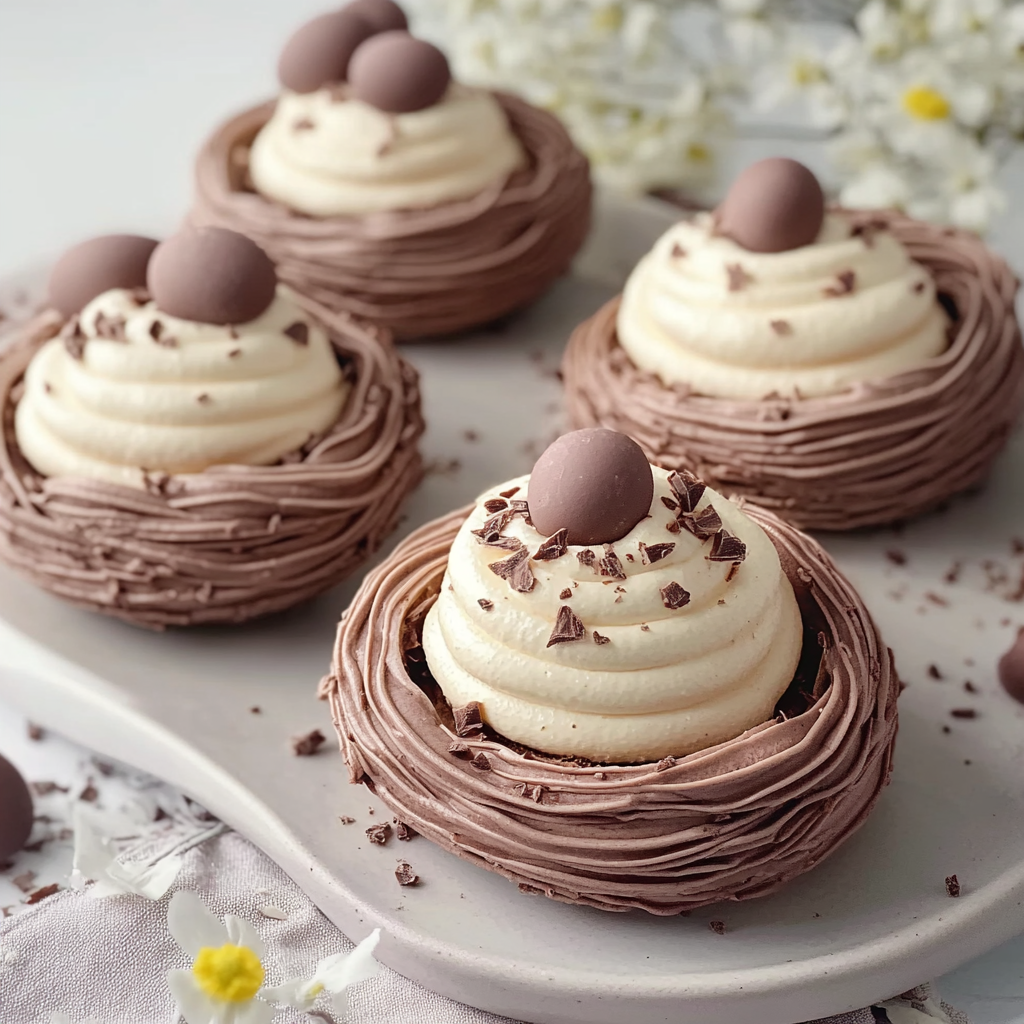
Feel free to swap in different chocolates or add flavors like vanilla or almond extract. You can also decorate your nests with assorted candies or colorful sprinkles for a festive touch that brings out your inner child!
Storing & Reheating
Store the meringue nests in an airtight container at room temperature to keep them crispy. Avoid refrigerating, as moisture will ruin their texture. They’re best enjoyed within a few days of baking!
Chef's Helpful Tips
- Ensure your mixing bowl is completely clean and dry before whipping egg whites; any grease can prevent them from achieving full volume
- When folding in sugar, do it gradually to maintain fluffiness
- Keep an eye on baking time; overbaking can lead to cracks in your meringues!
Sometimes I make these treats for family gatherings, and watching everyone’s eyes light up as they take their first bite warms my heart. It’s those little moments that turn simple recipes into cherished memories.

FAQ
What should I do if my meringue is too runny?
If your meringue is too runny, it may be due to under-whipped egg whites or humidity in the kitchen. Try whipping longer until stiff peaks form, and ensure no liquid is present during preparation.
Can I use powdered sugar instead of granulated sugar?
Yes, powdered sugar works well in meringues! It can create a smoother texture since it dissolves faster than granulated sugar, but keep an eye on the consistency while mixing.
How can I tell when my meringues are done baking?
The meringues are done when they feel dry and crisp to the touch and easily lift off the parchment paper without sticking. They should have a lovely pale color without browning.
Did You Enjoy Making This Recipe? Please rate this recipe with ⭐⭐⭐⭐⭐ or leave a comment.
📖 Recipe Card
Print
Delightful Chocolate Meringue Easter Nests
- Total Time: 1 hour 30 minutes
- Yield: Approximately 12 nests 1x
Description
Experience the joy of Easter with these whimsical and airy Chocolate Meringue Easter Nests, a delightful treat that’s easy to make and even more fun to eat!
Ingredients
- 4 large egg whites
- 1 cup granulated sugar
- 1/4 cup unsweetened cocoa powder
- 1 tsp pure vanilla extract
- 1/2 cup semi-sweet chocolate chips
- Colorful candy eggs for decoration
Instructions
- Preheat your oven to 225°F (110°C) and line two baking sheets with parchment paper.
- In a clean bowl, beat the egg whites on medium speed until frothy. Gradually add sugar while continuing to beat until stiff peaks form and the mixture is glossy.
- Gently fold in cocoa powder and vanilla extract using a spatula, being careful not to deflate the meringue.
- Spoon or pipe small mounds onto the prepared baking sheets, creating an indent in each for candy eggs.
- Bake for about 1 hour and 15 minutes until the nests are dry and easily lift off the parchment paper.
- Allow to cool completely before decorating with candy eggs.
- Prep Time: 15 minutes
- Cook Time: 75 minutes
- Category: Dessert
- Method: Baking
- Cuisine: Easter
Nutrition
- Serving Size: 1 nest (30g)
- Calories: 120
- Sugar: 20g
- Sodium: 5mg
- Fat: 2g
- Saturated Fat: 1g
- Unsaturated Fat: 1g
- Trans Fat: 0g
- Carbohydrates: 26g
- Fiber: 1g
- Protein: 2g
- Cholesterol: 0mg
