The aroma of whipped cream and rich peanut butter fills the air as you prepare to indulge in a dreamy slice of creamy no-bake peanut butter pie. Imagine sinking your fork into a velvety layer of sweetness that instantly transports you back to carefree summer days spent with family and friends.
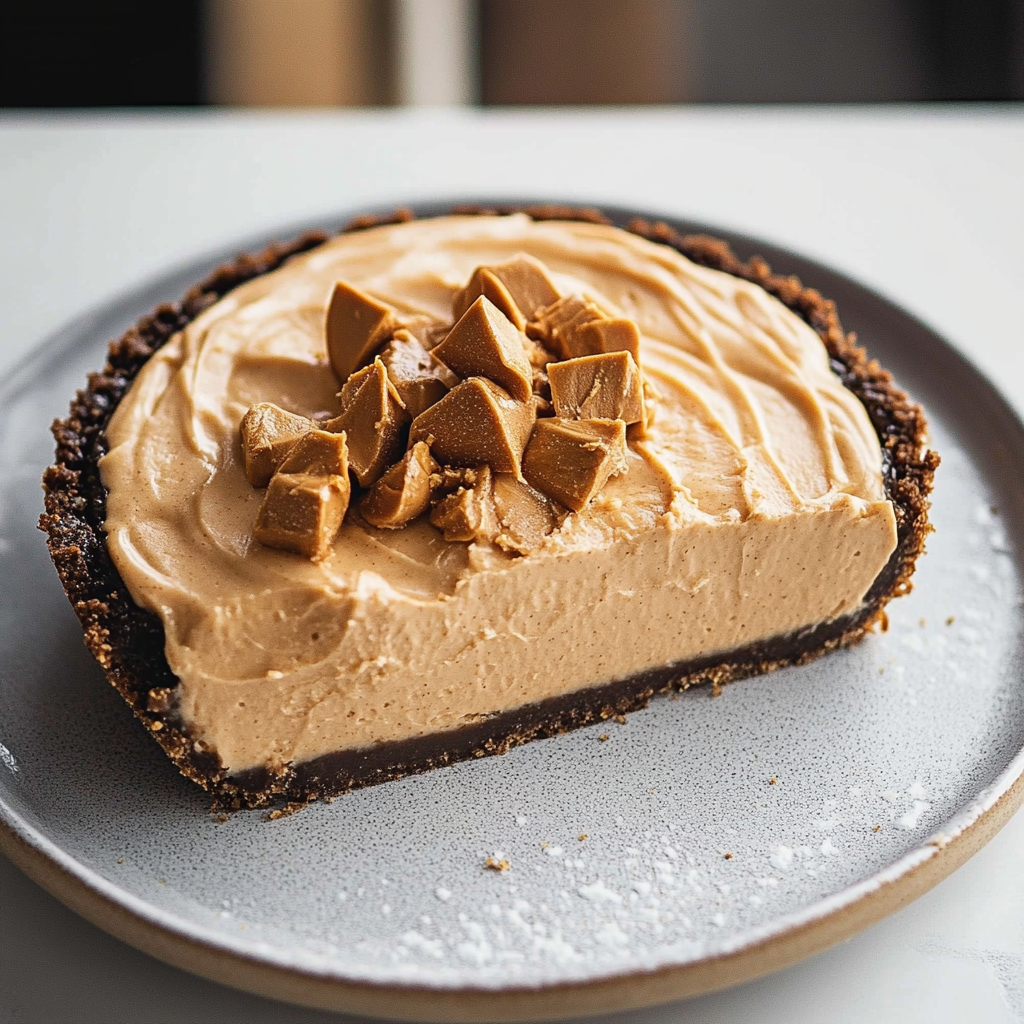
This pie holds a special place in my heart; it graced our family gatherings every summer. I can still hear the laughter and see the smiles on everyone’s faces when they took their first bite. Perfect for birthdays or just a casual weeknight dessert, this creamy delight is bound to make your taste buds dance!
Why You'll Love This Recipe
- This creamy no-bake peanut butter pie is an absolute breeze to prepare, making it perfect for any last-minute gathering
- The luscious flavors will have everyone asking for seconds
- Its stunning presentation will wow your guests while being incredibly simple to whip up
- Enjoy it as a delightful summer treat or make it anytime you’re craving something sweet!
You know those moments when everyone at the table pauses to savor every last bite? That’s what happened when I made this pie for my family reunion last summer.
Essential Ingredients
Here’s what you’ll need to make this delicious dish:
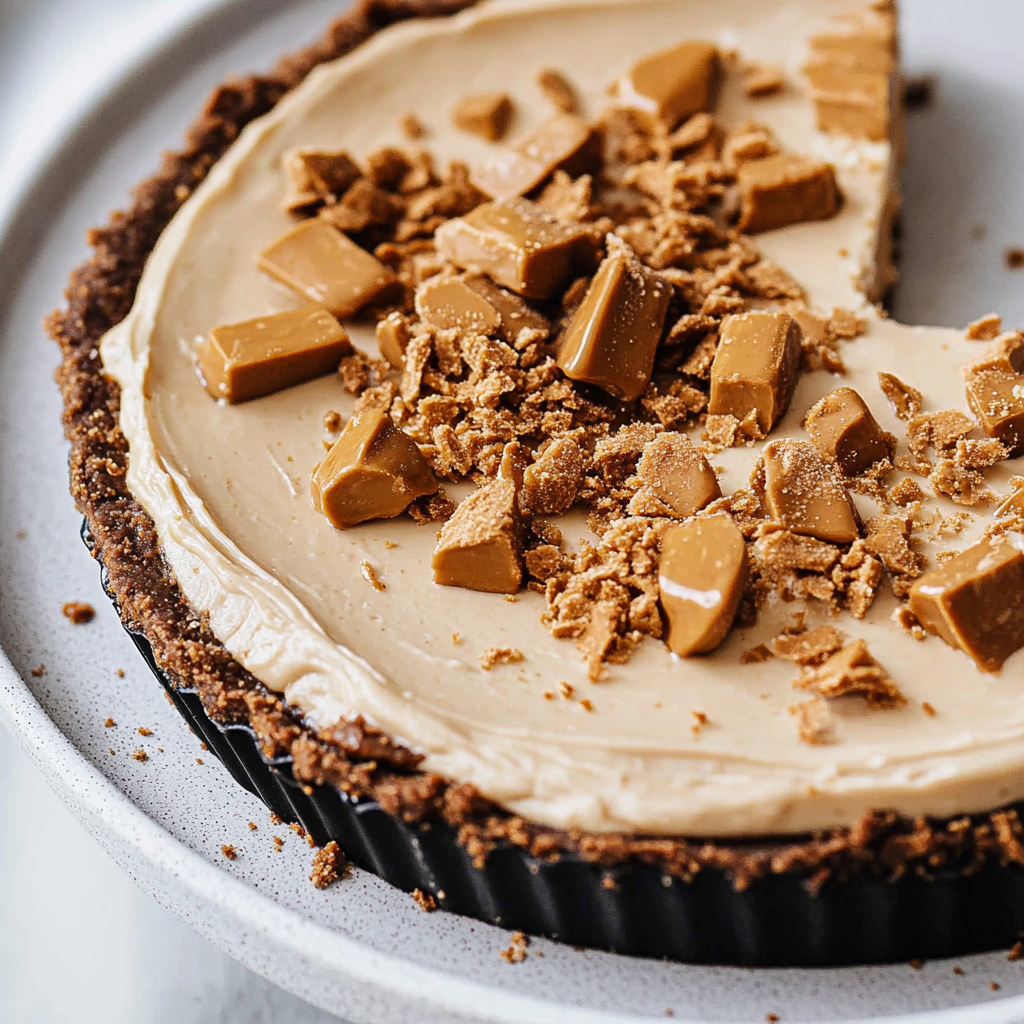
- Graham Cracker Crust: Store-bought or homemade works well; both add a nice crunch to balance the creaminess.
- Cream Cheese: Use softened cream cheese for easy mixing and a smooth texture; it provides richness to the filling.
- Peanut Butter: Choose natural peanut butter for a more intense flavor without added sugars or preservatives.
- Powdered Sugar: This adds sweetness without grittiness; sift it if clumps develop for smooth incorporation.
- Whipped Topping: Use store-bought or homemade whipped cream; either way, it makes the filling light and fluffy.
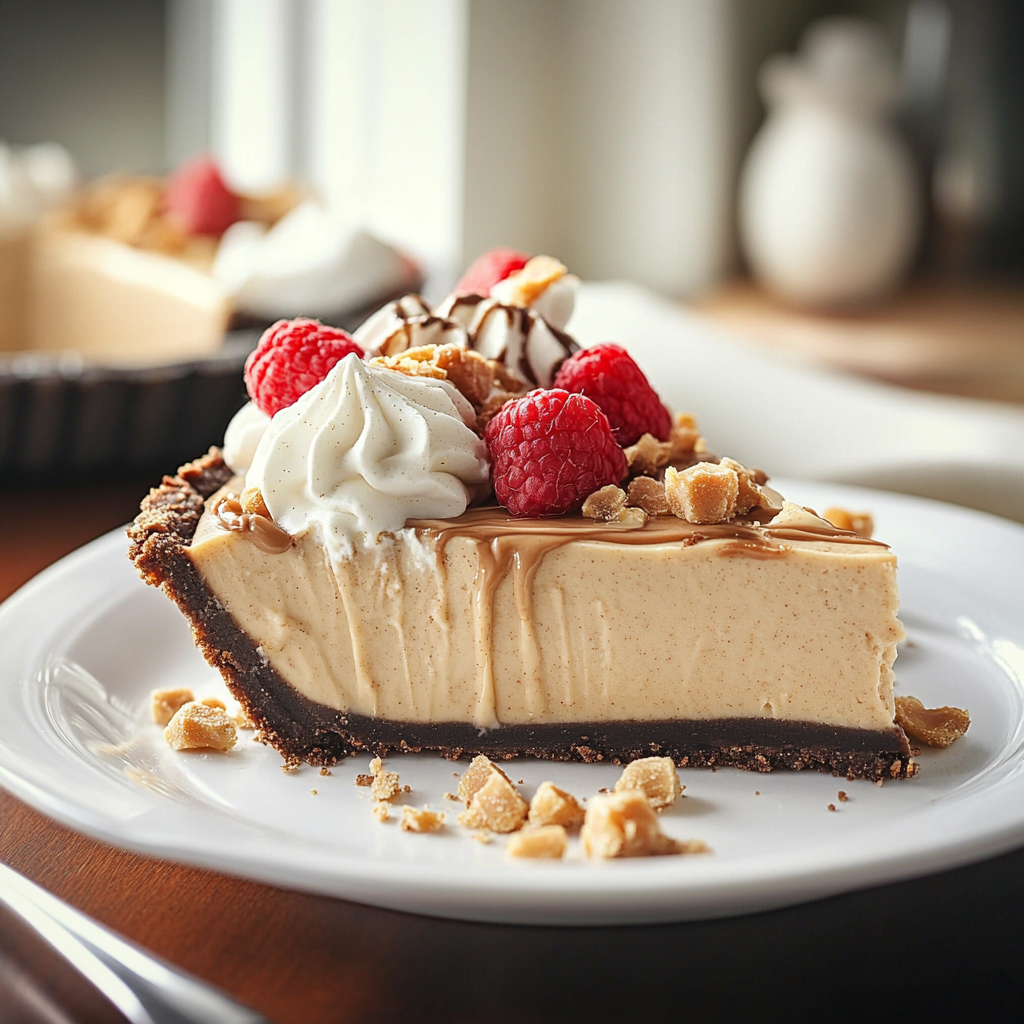
- Chocolate Sauce (optional): Drizzle on top for an indulgent touch; who doesn’t love chocolate with peanut butter?
The full ingredients list, including measurements, is provided in the recipe card directly below.
Let’s Make it together
Prepare Your Crust: If using a store-bought graham cracker crust, simply take it out of the package. For homemade, crush graham crackers and mix with melted butter until crumbly before pressing into a pie dish.
Create the Filling: Beat softened cream cheese in a large bowl until smooth. Add in peanut butter and beat until fully combined; it should look like silky frosting.
Add Sweetness: Gradually mix powdered sugar into your creamy mixture until fully blended; taste along the way so you can adjust sweetness as needed.
Fold in Whipped Topping: Gently fold whipped topping into your mixture until fully incorporated to maintain that light texture; your filling should now look irresistibly fluffy!
Pour into Crust: Spoon your luscious filling into the prepared crust, smoothing out the top with a spatula for an elegant finish.
Chill Until Set: Refrigerate the pie for at least 4 hours or overnight if possible. Patience is key here—flavors deepen while it chills!
Enjoy each step as you create this delightful treat! The anticipation builds as you await that first slice of creamy goodness.
You Must Know
- This creamy no-bake peanut butter pie is a dream come true for dessert lovers
- Its rich texture and irresistible flavor make it perfect for any occasion, from summer picnics to cozy family dinners
- Plus, the no-bake aspect means you can whip it up without breaking a sweat!
Perfecting the Cooking Process
To achieve the best results, mix your filling first, then prepare the crust while it chills. This sequence ensures everything sets perfectly while you save time.
Add Your Touch
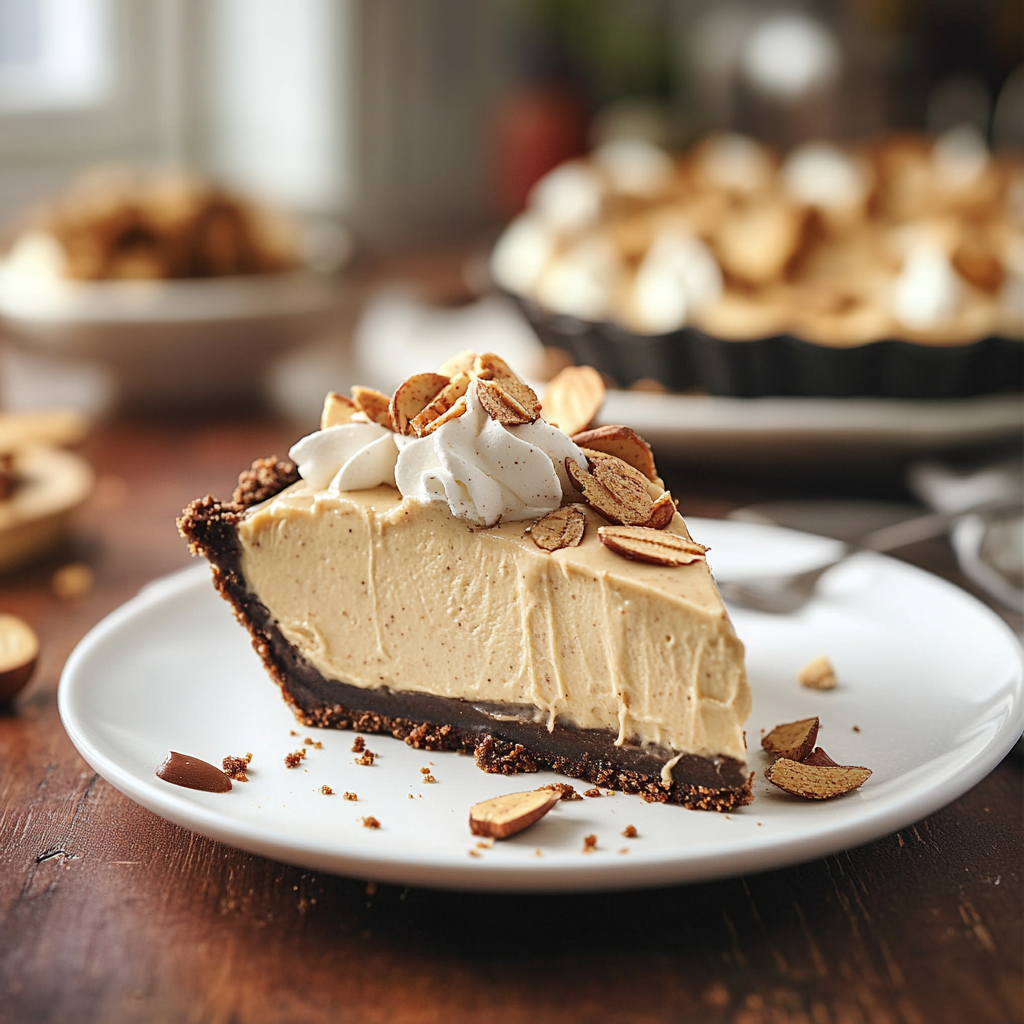
Feel free to swap out regular peanut butter for crunchy or even almond butter. You can also add chocolate chips for an extra layer of decadence.
Storing & Reheating
Store leftovers in an airtight container in the fridge. It remains tasty for up to a week but is best served chilled and fresh.
Chef's Helpful Tips
- For a smoother filling, let your cream cheese sit at room temperature before mixing
- Don’t rush the chilling process; patience makes all the difference!
- Finally, garnish with crushed peanuts or chocolate shavings for that professional touch
There’s nothing quite like that moment when friends and family take their first bite and their eyes light up—it’s pure magic every time!
FAQ
Can I use natural peanut butter in this creamy no-bake peanut butter pie?
Yes, natural peanut butter works well but may alter texture slightly.
How long does the pie need to chill before serving?
Chill the pie for at least four hours to set properly.
Can I freeze this creamy no-bake peanut butter pie?
Yes, you can freeze it; just ensure it’s well-covered to avoid freezer burn.
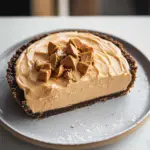
Creamy No-Bake Peanut Butter Pie
- Total Time: 0 hours
- Yield: Serves 8
Description
Indulge in a creamy no-bake peanut butter pie that’s quick to make and perfect for any occasion. This rich dessert promises smiles with every slice.
Ingredients
- 1 graham cracker crust (store-bought or homemade)
- 8 oz cream cheese, softened
- 1 cup natural peanut butter
- 1 cup powdered sugar
- 8 oz whipped topping
- Chocolate sauce (optional)
Instructions
- If using a store-bought crust, remove it from the package. For homemade, combine crushed graham crackers with melted butter, then press into a pie dish.
- In a bowl, beat the softened cream cheese until smooth. Add peanut butter and mix until well combined.
- Gradually blend in powdered sugar, adjusting sweetness as needed.
- Gently fold in whipped topping until fully incorporated and fluffy.
- Pour filling into the prepared crust, smoothing the top with a spatula.
- Refrigerate for at least 4 hours or overnight to set before serving.
- Prep Time: 15 minutes
- Cook Time: None
- Category: Dessert
- Method: No-Bake
- Cuisine: American
Nutrition
- Serving Size: 1 slice (95g)
- Calories: 380
- Sugar: 25g
- Sodium: 250mg
- Fat: 24g
- Saturated Fat: 7g
- Unsaturated Fat: 16g
- Trans Fat: 0g
- Carbohydrates: 35g
- Fiber: 2g
- Protein: 7g
- Cholesterol: 20mg
