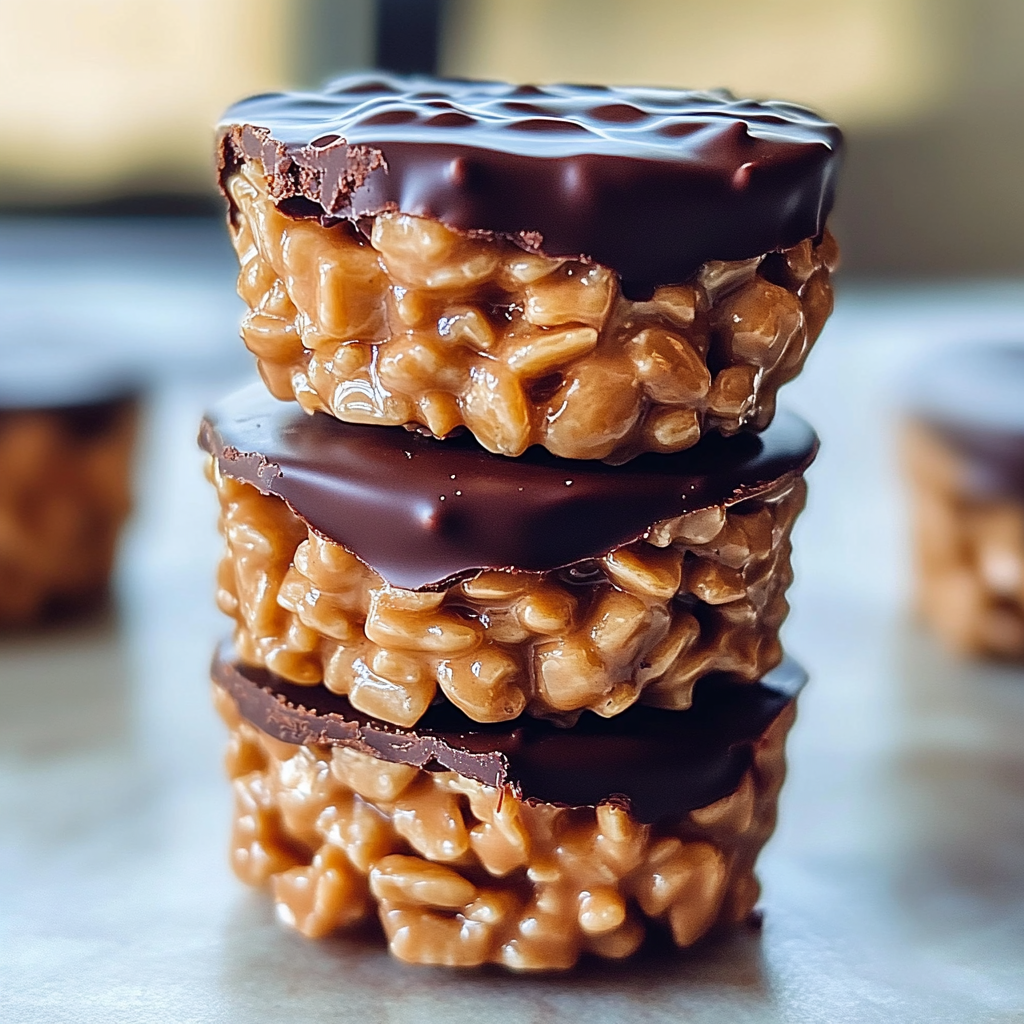
There’s something magical about the combination of chocolate and peanut butter that makes our taste buds dance with joy. Picture this: creamy peanut butter nestled within crispy rice cereal, all coated in a luscious layer of rich chocolate—Chocolate Peanut Butter Rice Krispie Cups are pure bliss! These little delights bring back memories of childhood; they remind me of sneaking into the kitchen after school, hoping to whip up something sweet.
Jump to:
- <strong>Essential Ingredients</strong>
- <strong>Let’s Make it together</strong>
- <strong>Perfecting the Cooking Process</strong>
- <strong>Add Your Touch</strong>
- <strong>Storing & Reheating</strong>
- <strong>FAQ</strong>
- Can I use crunchy peanut butter instead?
- How long do these cups last?
- Can I make these without chocolate?
- 📖 Recipe Card
I remember the first time I made these with my niece; her eyes lit up as we mixed everything together. We ended up with more chocolate on our faces than in the cups, but the laughter we shared was worth it! These delicious treats are perfect for parties or just a cozy night in—trust me; you’ll want to keep this recipe close for those moments when you need a little pick-me-up.
Why You'll Love This Recipe
- These delightful cups offer an incredibly easy preparation process that anyone can master
- The flavor profile combines creamy peanut butter and rich chocolate for a winning combination
- Visually appealing and perfectly portioned, these cups will impress at any gathering
- Their versatility means you can enjoy them as a snack or dessert anytime!
The first time I made Chocolate Peanut Butter Rice Krispie Cups, my family couldn’t stop raving about them—they disappeared faster than I could blink!
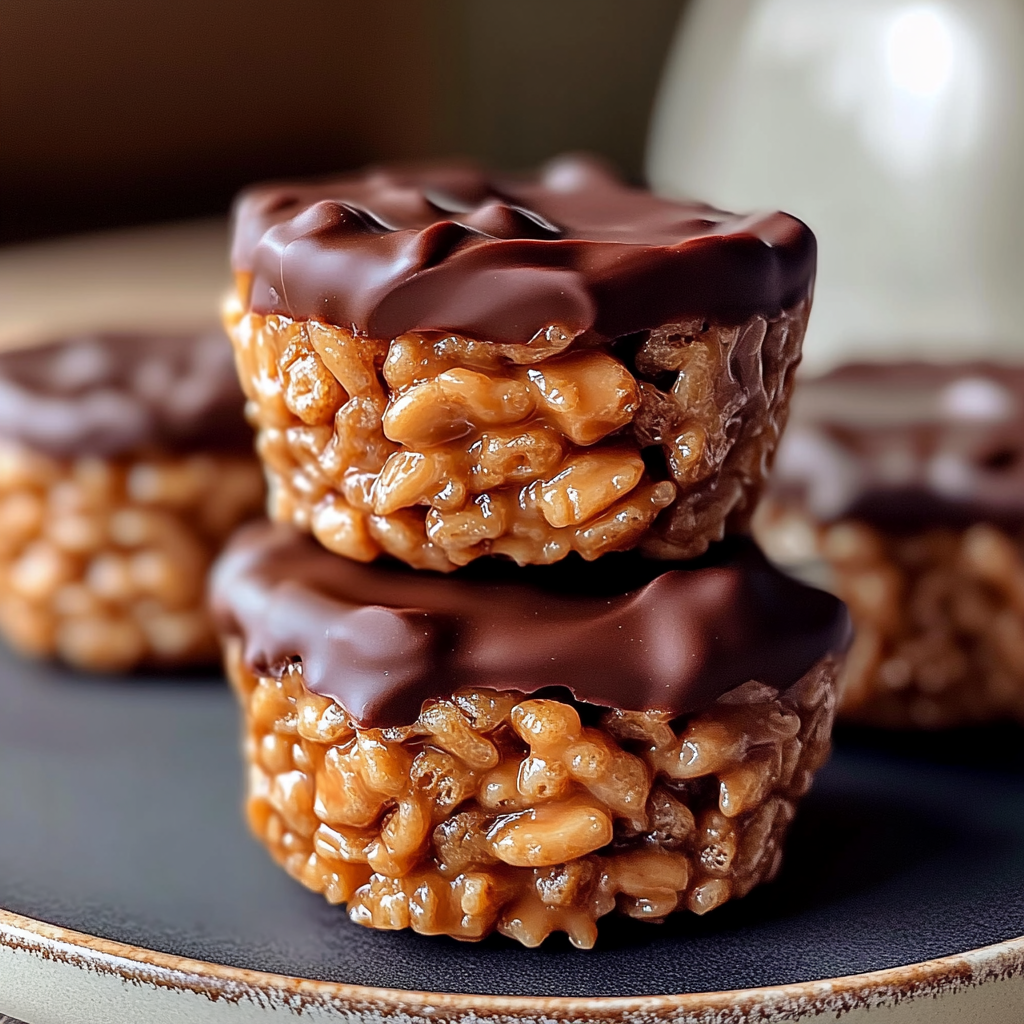
Essential Ingredients
Here’s what you’ll need to make this delicious dish:
- Rice Krispies: Use fresh cereal for maximum crispiness; check the expiration date for optimal crunch.
- Creamy Peanut Butter: Opt for smooth peanut butter for easy mixing; avoid natural types with oil separation.
- Chocolate Chips: Semi-sweet chocolate chips add the perfect balance; feel free to use dark chocolate if you prefer.
- Butter: Unsalted butter allows you to control saltiness while adding richness to the mixture.
- Vanilla Extract: A splash enhances flavors; always choose pure vanilla extract for the best taste.
The full ingredients list, including measurements, is provided in the recipe card directly below.
Let’s Make it together
Melt the Chocolate Mixture: In a microwave-safe bowl, combine chocolate chips and butter. Heat in 30-second intervals until melted and smooth, stirring after each interval.
Mix in Peanut Butter: Once melted, stir in creamy peanut butter and vanilla extract until well combined. The aroma will be heavenly!
Add Rice Krispies: Fold in Rice Krispies gently until fully coated with the chocolate-peanut butter mixture; take care not to crush them.
Prepare Muffin Tin: Line a muffin tin with cupcake liners or grease it lightly with non-stick spray. This step ensures easy removal later—trust me!
Scoop and Chill: Fill each liner with the mixture and press down gently to form cups. Refrigerate for at least 30 minutes until set; patience is key here!
Strong>Enjoy Your Treats!: Once set, peel away the liners and indulge in your delightful creations! Share them or keep them all to yourself—we won’t judge.
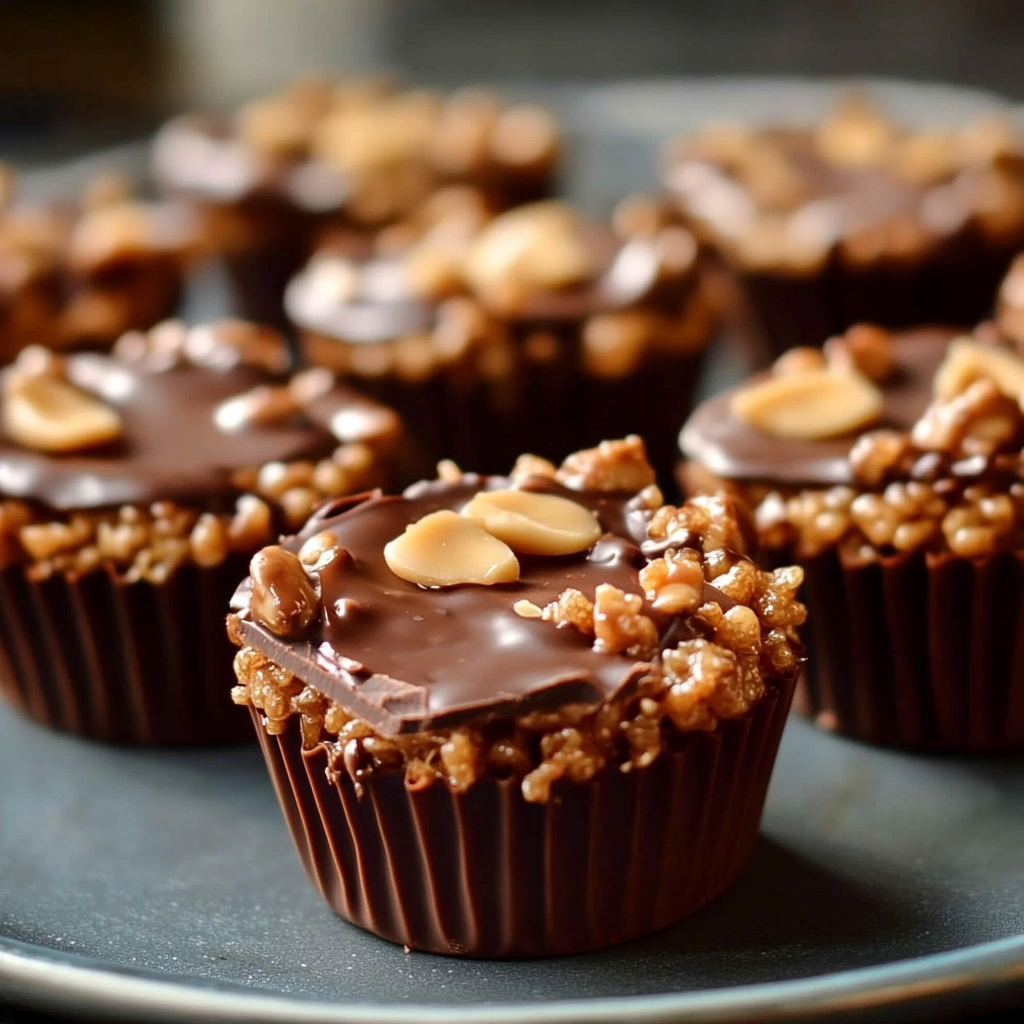
Now that you have created these mouthwatering Chocolate Peanut Butter Rice Krispie Cups, why not get creative? You can sprinkle some sea salt on top or even add chopped nuts for extra crunch! Enjoy every bite of your flavorful adventure!
You Must Know
- These Chocolate Peanut Butter Rice Krispie Cups are a delightful combination of crunchy and creamy
- The sweet aroma fills the kitchen, making it hard to resist sneaking one before they set
- They are perfect for parties or just a cozy night in with Netflix!
Perfecting the Cooking Process
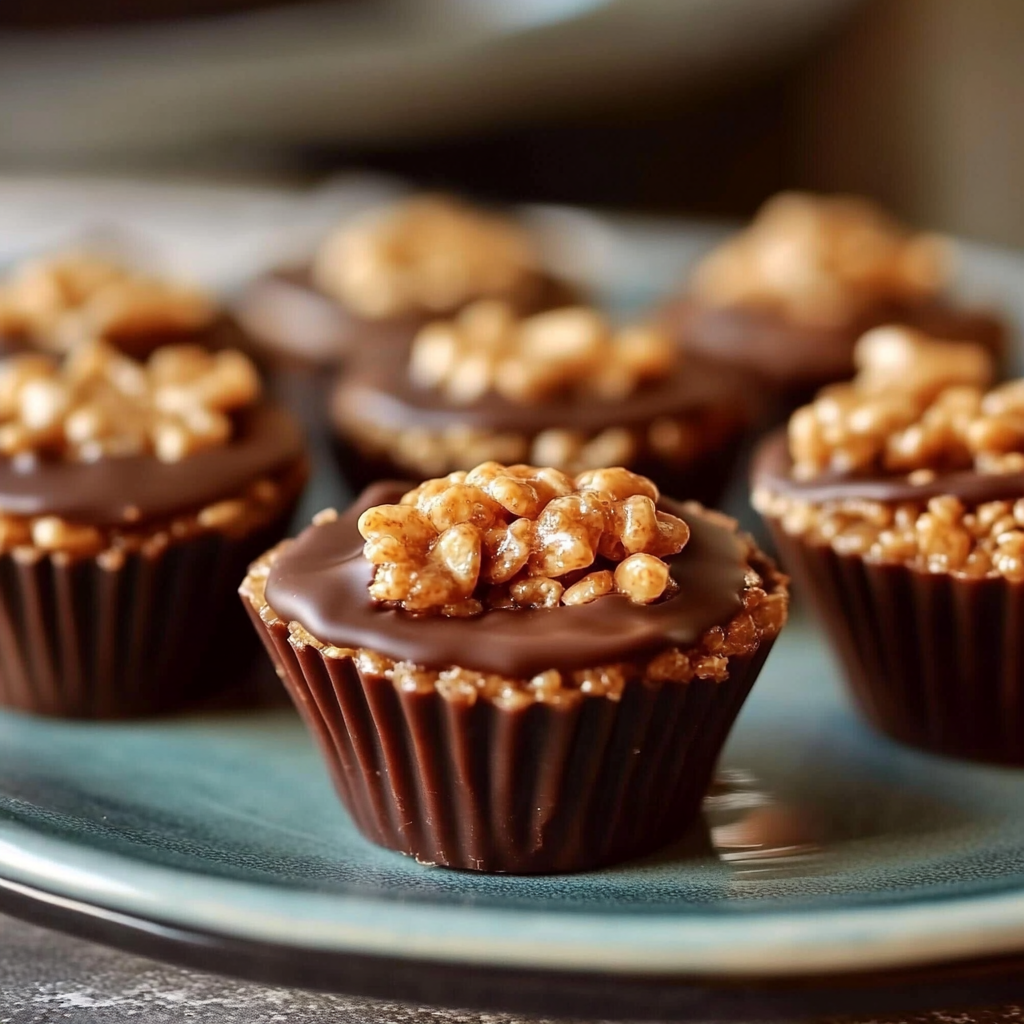
The best method is to melt the chocolate and peanut butter first, then mix in the Rice Krispies for an even distribution.
Add Your Touch
Feel free to swap out the chocolate for white chocolate or add some crushed nuts for extra crunch.
Storing & Reheating
Store your Rice Krispie cups in an airtight container at room temperature for up to a week. No reheating needed!
Chef's Helpful Tips
- Always use fresh Rice Krispies for maximum crunchiness; stale ones can ruin the texture
- Melting chocolate slowly prevents burning and ensures smoothness
- Lastly, let them cool completely before serving for the best taste experience
I once made these treats for a family gathering, and they disappeared faster than I could say “Chocolate Peanut Butter Rice Krispie Cups!” Everyone begged for the recipe, which was my ultimate compliment.
FAQ
Can I use crunchy peanut butter instead?
Yes, crunchy peanut butter adds extra texture and flavor to the cups.
How long do these cups last?
They can last up to a week if stored properly in an airtight container.
Can I make these without chocolate?
Yes, you can use yogurt coating or just stick to peanut butter!
Did You Enjoy Making This Recipe? Please rate this recipe with ⭐⭐⭐⭐⭐ or leave a comment.
📖 Recipe Card
Print
Chocolate Peanut Butter Rice Krispie Cups
- Total Time: 15 minutes
- Yield: Makes approximately 12 cups 1x
Description
Indulge in these Chocolate Peanut Butter Rice Krispie Cups—a delightful no-bake treat combining creamy peanut butter and rich chocolate for a perfect sweet snack.
Ingredients
- 3 cups Rice Krispies
- 1 cup creamy peanut butter
- 1 cup semi-sweet chocolate chips
- 4 tablespoons unsalted butter
- 1 teaspoon pure vanilla extract
Instructions
- Melt chocolate chips and butter in a microwave-safe bowl, heating in 30-second intervals until smooth.
- Stir in peanut butter and vanilla extract until fully combined.
- Gently fold in Rice Krispies until thoroughly coated.
- Line a muffin tin with cupcake liners or grease it lightly. Spoon the mixture into each liner, pressing down gently.
- Refrigerate for at least 30 minutes to set. Once firm, remove from liners and enjoy!
- Prep Time: 15 minutes
- Cook Time: 0 minutes
- Category: Dessert
- Method: No-Bake
- Cuisine: American
Nutrition
- Serving Size: 1 cup [45g]
- Calories: 180
- Sugar: 10g
- Sodium: 50mg
- Fat: 8g
- Saturated Fat: 3g
- Unsaturated Fat: 5g
- Trans Fat: 0g
- Carbohydrates: 23g
- Fiber: 1g
- Protein: 4g
- Cholesterol: 5mg
