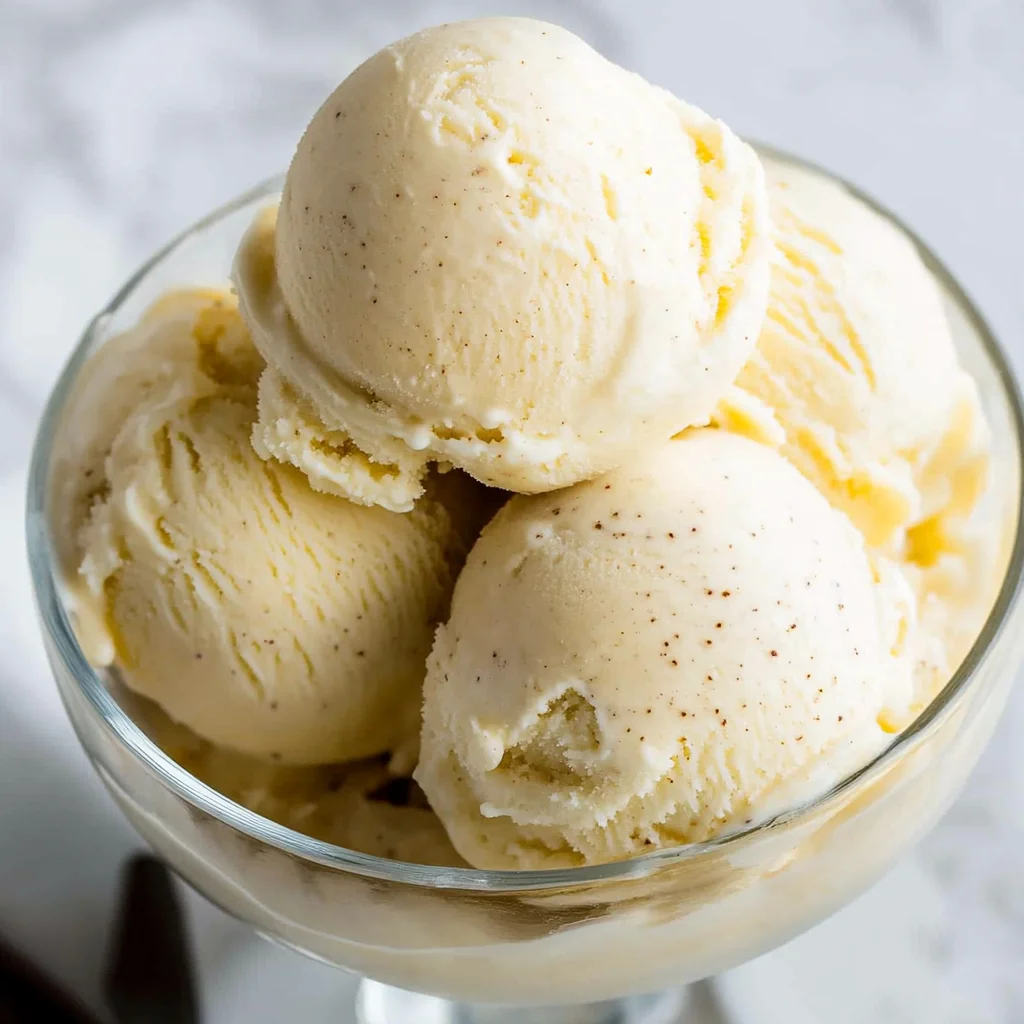
Imagine the rich, creamy delight of homemade vanilla ice cream, where each spoonful melts in your mouth, releasing a comforting wave of sweet vanilla aroma. The luxurious texture invites you to savor every moment, making it the perfect treat for warm summer days or cozy evenings.
Making homemade vanilla ice cream is not only easy but also incredibly rewarding, as you’ll enjoy the satisfaction of crafting something special from scratch. With just a few simple steps, you can create a delicious dessert that brings joy to family gatherings and quiet nights in alike.
Quick Overview
Homemade vanilla ice cream is a rich and creamy treat made with just a few simple ingredients. Its smooth texture and classic vanilla flavor make it perfect for warm summer days or as a delightful dessert year-round. Enjoy it on its own or paired with your favorite pie or cake for an indulgent experience.
Why This Recipe Works
- This homemade vanilla ice cream recipe strikes a perfect balance between sweetness and creaminess, creating an indulgent treat.
- The careful technique of tempering the egg yolks ensures a smooth texture that enhances every scoop.
- By allowing the base to chill thoroughly, you achieve optimal flavor development and richness in each bite.
- This reliable method consistently delivers a delightful ice cream experience that will impress family and friends alike.
Now that you understand why this recipe works so well, let’s dive into the step-by-step process of making your own homemade vanilla ice cream.
Essential Ingredients
To make delicious homemade vanilla ice cream, you’ll need the following ingredients:
- 2 cups heavy cream: Use chilled heavy cream for a rich and creamy texture in your ice cream.
- 1 cup whole milk: Chilled whole milk complements the heavy cream, contributing to a smooth consistency.
- 3/4 cup granulated sugar: Adjust the sugar to taste, but this amount provides balanced sweetness.
- 1 tablespoon pure vanilla extract: Opt for pure extract for the best flavor; avoid imitation vanilla if possible.
- 1/2 teaspoon salt: A small amount of salt enhances the overall flavor profile of the ice cream.
- 5 large egg yolks: Ensure they are at room temperature for better mixing and texture in the base.
The full ingredients list, including measurements, is provided in the recipe card directly below.
How to Make homemade vanilla ice cream
Step 1: Whisk the Egg Yolks:In a mixing bowl, whisk together the 5 large egg yolks and 3/4 cup granulated sugar until pale and slightly thickened, creating a smooth, velvety texture.
Step 2: Heat the Cream Mixture:In a saucepan, combine 2 cups chilled heavy cream, 1 cup chilled whole milk, and 1/2 teaspoon salt. Heat over medium until hot but not boiling, releasing a rich cream aroma.
Step 3: Temper the Egg Yolks:Slowly pour about a cup of the hot cream mixture into the egg yolks while whisking constantly. This prevents scrambling by gradually warming the yolks for a creamy base.
Step 4: Combine and Cook:Return the tempered mixture to the saucepan and cook over medium heat, stirring constantly until it thickens and coats the back of a spatula at about 170°F.
Step 5: Cool and Chill:Remove from heat and stir in 1 tablespoon pure vanilla extract. Allow to cool to room temperature, then refrigerate for at least 2 hours until fully chilled.
Step 6: Churn and Freeze:Pour the chilled base into your ice cream maker and churn for 20-25 minutes until soft-serve consistency is reached. Transfer to a container, freeze for at least 4 hours before serving.
Now that you know how to make homemade vanilla ice cream, let’s explore some delightful serving suggestions!
Common Mistakes to Avoid
- One common mistake when making homemade vanilla ice cream is not properly tempering the egg yolks, which can lead to a grainy texture.
- Another error is skipping the chilling step for the base mixture, resulting in ice cream that doesn’t achieve a creamy consistency.
- Lastly, neglecting to churn the mixture long enough may leave you with ice cream that is too dense and lacks the desired lightness.
By being mindful of these tips, you’ll ensure your homemade vanilla ice cream turns out perfectly every time!
Pro Tips for Best Results
1. Always chill your heavy cream and whole milk before starting; this enhances the overall texture of your homemade vanilla ice cream.
2. When tempering the eggs, pour the hot cream mixture slowly to ensure a smooth, lump-free base without scrambling the yolks.
3. For optimal flavor, let your ice cream base cool completely before chilling—this helps the vanilla extract infuse fully into the mixture.
With these tips in hand, you’re ready to create delicious homemade vanilla ice cream that will impress everyone.
Make It Your Way
- When making your homemade vanilla ice cream, don’t hesitate to customize the flavor!
- You can infuse the base with a hint of almond extract or swirl in some chocolate chips or fruit purées for a delightful twist.
- If you’re looking for a dairy-free option, substitute the heavy cream and whole milk with coconut cream and almond milk, respectively, while maintaining the same quantities.
- This way, you can enjoy your delicious ice cream tailored to your tastes and dietary needs!
Now that you have some creative options for your homemade vanilla ice cream, let’s dive into the preparation steps.
What to Serve With It
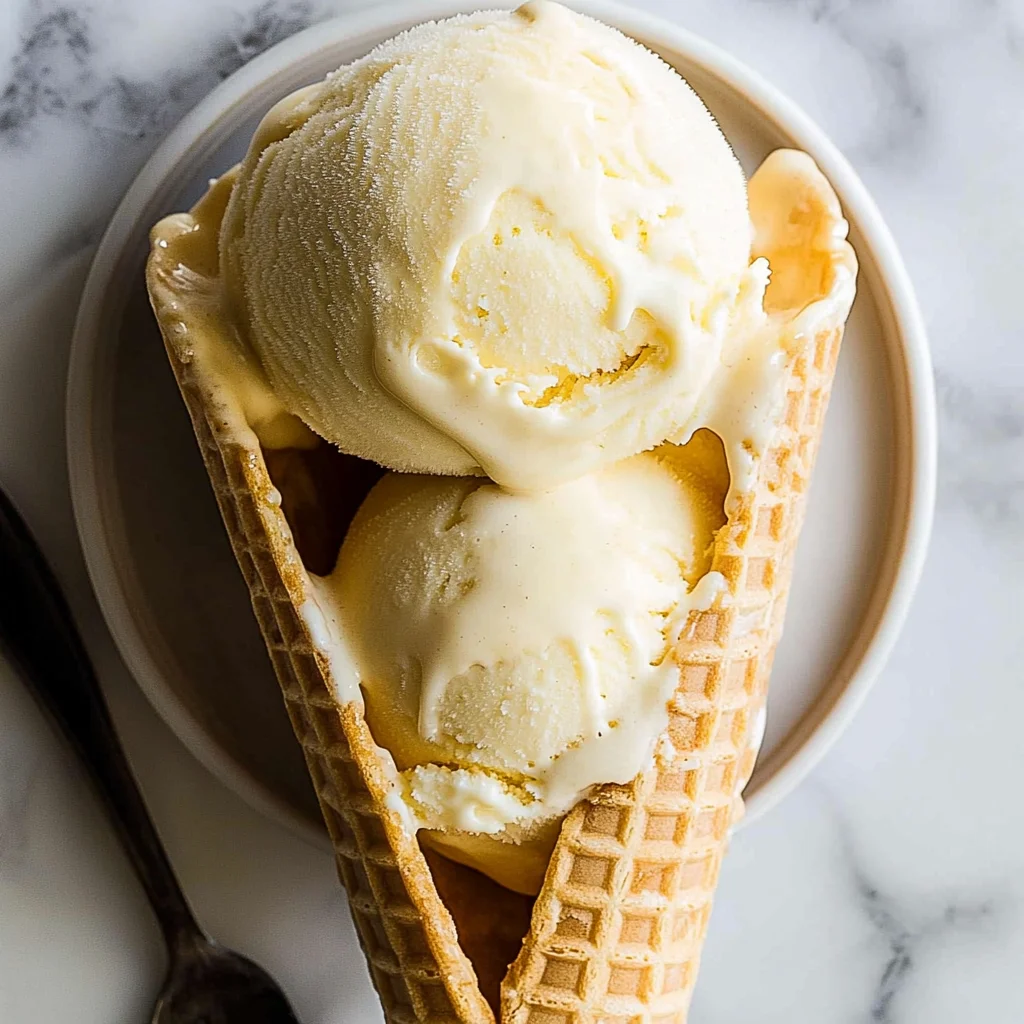
Homemade vanilla ice cream pairs beautifully with fresh berries, warm chocolate sauce, or a drizzle of caramel. For a refreshing contrast, enjoy it alongside a chilled fruit salad or a scoop atop a slice of pie. A crisp iced coffee also complements this creamy delight perfectly.
Now that you know how to serve it, let’s explore the best way to store your homemade vanilla ice cream!
Make-Ahead & Meal Prep
Homemade vanilla ice cream can be prepared ahead of time, as the base needs to chill for at least 2 hours. To enhance flavor, prepare it a day in advance and allow it to freeze for 4 hours. Avoid over-churning to maintain the desired creamy texture.
Now that your homemade vanilla ice cream is ready, let’s explore some delightful serving suggestions!
Storing & Reheating
To preserve the rich texture and delightful flavor of your homemade vanilla ice cream, store it in an airtight container in the freezer for up to 2 weeks. If it becomes too hard, let it sit at room temperature for a few minutes before scooping for easier serving.
Now that you know how to store your ice cream, let’s explore some delightful serving suggestions!
Troubleshooting & Fixes
If your homemade vanilla ice cream turns out too icy, it may not have been churned long enough or wasn’t chilled adequately before freezing. Ensure you follow the chilling step for at least 2 hours. If the ice cream is too sweet, consider reducing the sugar to 1/2 cup next time for a balanced flavor.
With these tips, you’ll be on your way to perfecting your homemade vanilla ice cream!
FAQ
What makes homemade vanilla ice cream different from store-bought?
Homemade vanilla ice cream uses fresh ingredients, resulting in a richer flavor and creamier texture.
Can I adjust the sweetness in my homemade vanilla ice cream?
Yes, you can adjust the granulated sugar to taste while following the recipe for best results.
How long does it take to make homemade vanilla ice cream?
The total time is approximately 240 minutes, including chilling and freezing for optimal texture.
With these FAQs addressed, you’ll feel more confident making your delicious homemade vanilla ice cream!
Homemade Vanilla Ice Cream
Ingredients
- 2 cups heavy cream chilled
- 1 cup whole milk chilled
- 3/4 cup granulated sugar adjust sweetness to taste
- 1 tablespoon pure vanilla extract for best flavor
- 1/2 teaspoon salt to enhance flavor
- 5 large egg yolks room temperature
Method
- In a mixing bowl, whisk together the egg yolks and granulated sugar until the mixture is pale and slightly thickened. This process helps to dissolve the sugar and aerate the yolks, which will create a smoother ice cream texture.
- In a separate saucepan, combine the heavy cream, whole milk, and salt. Heat over medium heat until the mixture is hot but not boiling, stirring occasionally.
- Once the cream mixture is hot, slowly pour about a cup of it into the egg yolk mixture while whisking constantly. This step is called tempering and prevents the eggs from scrambling by gradually raising their temperature.
- Pour the tempered egg yolk mixture back into the saucepan with the remaining cream mixture. Cook over medium heat, stirring constantly with a spatula, until the mixture thickens slightly and coats the back of the spatula (about 170°F or 77°C).
- Remove from heat and stir in the vanilla extract. Allow the mixture to cool to room temperature, then cover and refrigerate for at least 2 hours or until completely chilled. Chilling the base is crucial for achieving a creamy texture in the final ice cream.
- Once the base is chilled, pour it into your ice cream maker and churn according to the manufacturer's instructions. This process incorporates air into the mixture, creating a light and fluffy texture.
- Churn until the ice cream reaches a soft-serve consistency, which usually takes about 20-25 minutes.
- Transfer the churned ice cream to a storage container. Smooth the top with a spatula and press a piece of parchment paper directly onto the surface to prevent ice crystals from forming.
- Cover the container with a lid and freeze for at least 4 hours, or until firm. This final freezing step allows the ice cream to set properly and develop its full flavor.