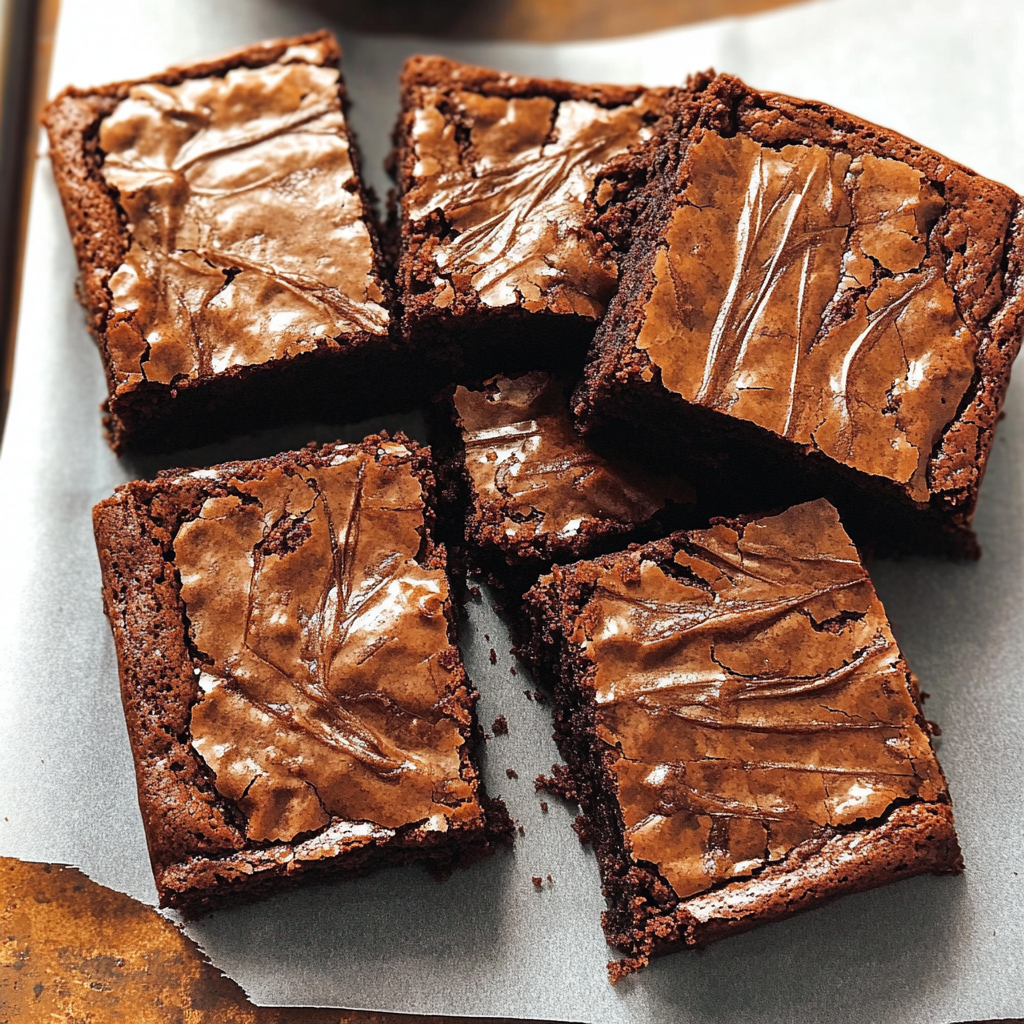
The moment you take a bite of these miso brownies, your taste buds will be doing the cha-cha while your heart sings a symphony of delight. Imagine rich, fudgy chocolate mingling with the umami goodness of miso, creating a flavor explosion that dances on your tongue. These brownies are not just a dessert; they’re an experience, perfect for impressing guests or simply indulging yourself after a long day.
Back when I first stumbled upon the idea of miso brownies, I thought it was a joke. “Miso in brownies? Are we baking or conducting a science experiment?” But one bite turned my skepticism into sweet surrender. These brownies are ideal for cozy nights at home or festive gatherings where you want to be the culinary hero without spending hours in the kitchen. Trust me, once you try this recipe, you’ll wonder how you ever lived without them!
Why You'll Love This miso brownies
- This incredible miso brownies transforms simple everyday ingredients into restaurant-quality flavors that will blow your mind completely.
- Foolproof recipe techniques guarantee perfect results every single time, making even novice cooks feel like professional chefs instantly.
- Stunning visual appeal with gorgeous colors and mouthwatering aromas creates the ultimate Instagram-worthy dish for any special occasion.
- Endlessly adaptable for different dietary needs while working beautifully for meal prep, date nights, or entertaining large groups effortlessly.
What You’ll Need
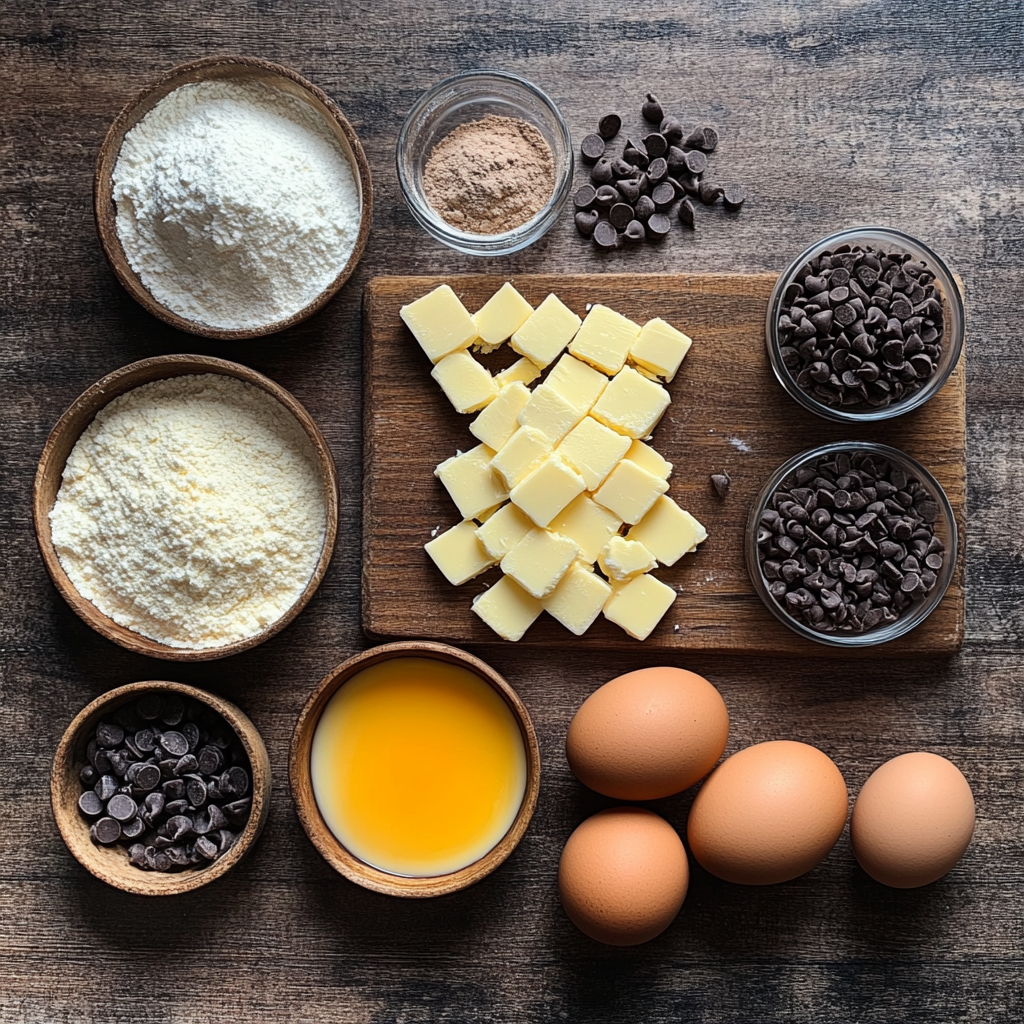
Here’s what you’ll need to make this delicious miso brownies:
- Unsalted Butter: Use high-quality butter for richness; it helps create that melt-in-your-mouth texture.
- Granulated Sugar: Essential for sweetness and that lovely crispy top layer; adjust based on your sweetness preference.
- Brown Sugar: Adds moisture and depth of flavor; light or dark brown sugar works well here.
- Cocoa Powder: Choose unsweetened cocoa powder for balanced chocolate flavor; it’s key to achieving that brownie richness.
- Eggs: They bind everything together and help achieve that gooey center; use large eggs for best results.
- Miso Paste: This is where the magic happens! Opt for white or yellow miso for a milder flavor that complements chocolate perfectly.
- All-Purpose Flour: Provides structure; don’t overmix to keep those brownies fudgy and tender.
- Chocolate Chips: Optional but recommended for extra chocolatey goodness; semi-sweet chips work wonders!
The full ingredients list, including measurements, is provided in the recipe card directly below.
Cooking Instructions
Follow these simple steps to prepare this delicious miso brownies:
Step 1: Preheat Your Oven
Preheat your oven to 350°F (175°C). Grease an 8×8-inch baking pan or line it with parchment paper for easy removal later.
Step 2: Melt Butter and Mix Sugars
In a medium saucepan over low heat, melt the unsalted butter. Once melted, remove from heat and stir in both granulated and brown sugars until well combined.
Step 3: Add Eggs and Miso
Let the mixture cool slightly before whisking in the eggs one at a time. Then mix in the miso paste until fully incorporated—this is where things get interesting!
Step 4: Sift in Dry Ingredients
In another bowl, sift together cocoa powder and all-purpose flour. Gradually fold this dry mix into the wet ingredients using a spatula until just combined—don’t overdo it!
Step 5: Fold in Chocolate Chips
If you’re feeling particularly indulgent (and who isn’t?), gently fold in chocolate chips at this stage. They’ll melt slightly during baking, creating delightful pockets of gooey goodness.
Step 6: Bake to Perfection
Pour the batter into your prepared pan and smooth out the top. Bake in your preheated oven for about 25-30 minutes. The edges should firm up while the center remains slightly soft—just how we like it!
Transfer to plates and watch as everyone falls under their spell! Enjoy these miso brownies warm with a scoop of vanilla ice cream if you really want to treat yourself.
Now that you’ve conquered these miso brownies, prepare yourself for friends demanding more recipes—and maybe even asking you to open a bakery!
You Must Know About miso brownies
- This showstopping miso brownies delivers restaurant-quality results using simple ingredients you probably already have at home.
- The perfect balance of textures and flavors creates an unforgettable dining experience that will have everyone asking for seconds.
- Picture-perfect presentation with vibrant colors makes this dish absolutely Instagram-worthy and guaranteed to impress any dinner guest.
- Incredibly versatile recipe that works beautifully for weeknight dinners, meal prep, special occasions, or even outdoor entertaining sessions.
Perfecting Cooking Process
To achieve the ultimate miso brownies, start by preheating your oven and preparing your baking dish. Next, combine your wet ingredients before mixing in the dry ones for a smooth batter. Bake until set but still fudgy for that perfect texture.
Flavor Your Way
Feel free to customize your miso brownies! Swap out dark chocolate for milk chocolate or add walnuts for crunch. You can even experiment with flavored miso varieties like red or white to enhance the flavor profile.
Storing & Reheating
Store leftover miso brownies in an airtight container at room temperature for up to three days. For longer storage, freeze them individually wrapped. Reheat in the microwave for a few seconds to enjoy their gooey goodness again.
Chef's Helpful Tips for miso brownies
- This professional-quality miso brownies relies on precise timing and temperature control to achieve restaurant-standard results consistently.
- Master the art of mise en place by prepping all ingredients beforehand, ensuring smooth execution and preventing any last-minute cooking disasters.
- The secret lies in layering flavors throughout the cooking process rather than seasoning only at the end for maximum depth.
- Pro tip: let the finished dish rest for optimal texture and flavor development before serving to hungry guests waiting eagerly.
Baking these miso brownies brings back memories of a cozy family gathering where my aunt declared them “life-changing.” She wouldn’t stop raving about them, which made me realize I was onto something delicious!
FAQs
What are miso brownies?
Miso brownies are a unique twist on traditional chocolate brownies, incorporating miso paste into the batter. This addition not only enhances the flavor profile but also adds a subtle umami richness that balances the sweetness of the chocolate. The result is a fudgy, decadent treat that surprises your taste buds. Miso, typically used in savory dishes, brings an unexpected depth to these brownies, making them a standout dessert option for those looking to try something new.
How do you make miso brownies?
To make miso brownies, start by melting butter and mixing it with sugar and eggs. Then, add the miso paste along with your dry ingredients, such as flour and cocoa powder. Mix until smooth and pour into a greased baking pan. Bake at 350°F for about 25 minutes or until a toothpick comes out clean. Let them cool before slicing into squares. Enjoy the rich flavors that combine chocolate and miso seamlessly!
Can I use different types of miso for my brownies?
Absolutely! Different types of miso can alter the flavor of your brownies significantly. White miso offers a sweeter and milder taste, while red miso has a stronger flavor profile with deeper umami notes. Experimenting with various kinds allows you to customize your miso brownies to your liking. Just remember to adjust the sugar levels accordingly based on the type of miso you choose.
Are miso brownies gluten-free?
Miso brownies can be made gluten-free by substituting regular flour with gluten-free alternatives like almond flour or coconut flour. Ensure that the other ingredients you use are also gluten-free to maintain this dietary restriction. With some adjustments to the recipe, you can still enjoy deliciously fudgy and rich miso brownies without any gluten concerns.
Conclusion
In conclusion, miso brownies provide an exciting fusion of flavors that elevate your typical brownie experience. By incorporating miso paste, you introduce an unexpected umami element that beautifully complements the rich chocolate base. Whether you’re using white or red miso, each variation offers unique tastes to explore. Try making these delightful treats for your next gathering or simply enjoy them at home; you’ll be amazed at how delicious miso brownies can be!

Miso Brownies
- Total Time: 45 minutes
- Yield: About 12 servings 1x
Description
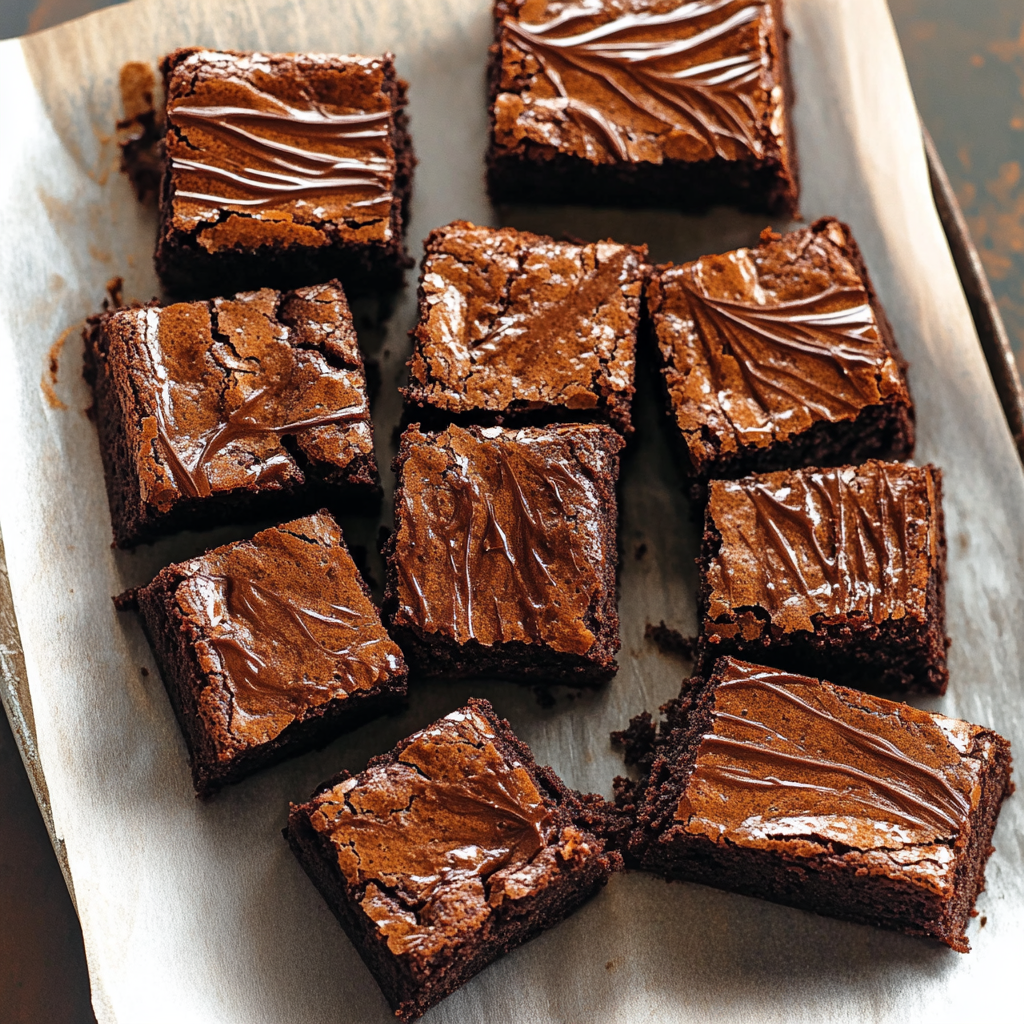
Miso brownies are an innovative dessert that beautifully marries rich chocolate with the savory depth of miso. Each bite offers a fudgy texture and a unique umami twist that will surprise and delight your taste buds. Perfect for gatherings or cozy nights in, these brownies are not just a treat but an unforgettable experience that’s easy to whip up in no time.
Ingredients
- 1/2 cup unsalted butter
- 1 cup granulated sugar
- 1/2 cup brown sugar
- 1/3 cup unsweetened cocoa powder
- 2 large eggs
- 1/4 cup white or yellow miso paste
- 1 cup all-purpose flour
- Optional: 1/2 cup semi-sweet chocolate chips
Instructions
- Preheat your oven to 350°F (175°C). Grease an 8×8-inch baking pan or line it with parchment paper.
- Melt the butter in a medium saucepan over low heat. Remove from heat and stir in both sugars until combined.
- Allow the mixture to cool slightly, then whisk in the eggs one at a time, followed by the miso paste.
- In a separate bowl, sift together the cocoa powder and flour. Gradually fold this dry mix into the wet ingredients until just combined.
- Gently fold in chocolate chips if using.
- Pour the batter into the prepared pan and bake for 25-30 minutes, until edges are firm but center is still soft.
- Let cool before slicing into squares.
- Prep Time: 15 minutes
- Cook Time: 30 minutes
- Category: Dessert
- Method: Baking
- Cuisine: Fusion
Nutrition
- Serving Size: 1 square (40g)
- Calories: 180
- Sugar: 15g
- Sodium: 150mg
- Fat: 8g
- Saturated Fat: 5g
- Unsaturated Fat: 3g
- Trans Fat: 0g
- Carbohydrates: 25g
- Fiber: 1g
- Protein: 2g
- Cholesterol: 40mg