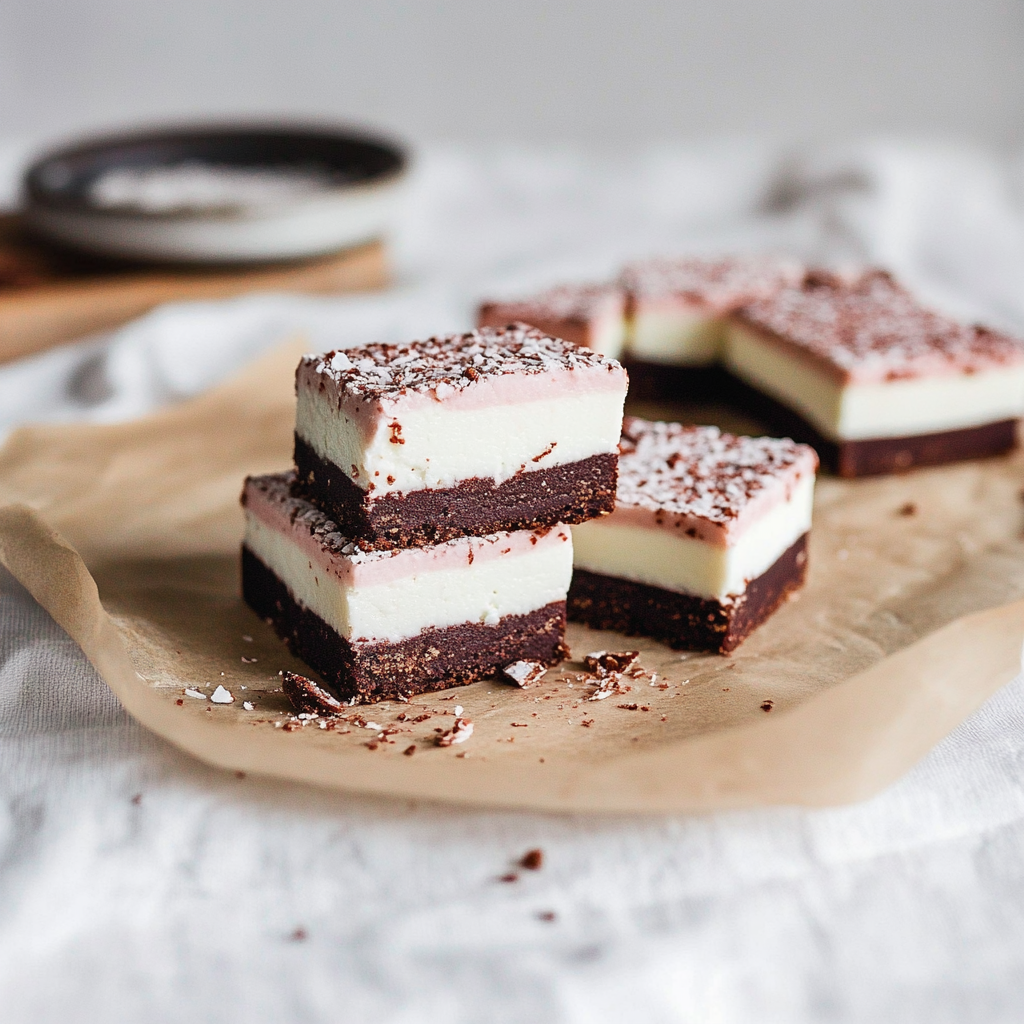
Imagine sinking your teeth into a creamy, dreamy No-Bake Peppermint Slice that dances on your taste buds like it’s auditioning for a role in a holiday movie. Picture the rich chocolate mingling with refreshing peppermint, creating a symphony of flavors that feels both indulgent and nostalgic. The moment you take a bite, it’s as if all your holiday wishes have come true, wrapped up in a sweet little square.
Now, let’s get real—this No-Bake Peppermint Slice isn’t just a treat; it’s practically a celebration in your mouth! I still remember the first time I made it. I was trying to impress my friends at a holiday gathering, and let me tell you, they were ready to crown me the dessert queen. This delightful slice is perfect for holiday parties, cozy family gatherings, or whenever you need to sweeten the deal with loved ones. Trust me; it’s more than just dessert; it’s an experience!
Why You'll Love This No-Bake Peppermint Slice
- This incredible No-Bake Peppermint Slice transforms simple everyday ingredients into restaurant-quality flavors that will blow your mind completely.
- Foolproof recipe techniques guarantee perfect results every single time, making even novice cooks feel like professional chefs instantly.
- Stunning visual appeal with gorgeous colors and mouthwatering aromas creates the ultimate Instagram-worthy dish for any special occasion.
- Endlessly adaptable for different dietary needs while working beautifully for meal prep, date nights, or entertaining large groups effortlessly.
What You’ll Need

Here’s what you’ll need to make this delicious No-Bake Peppermint Slice:
- Digestive Biscuits: These crunchy cookies provide the perfect base with their sweet flavor and crumbly texture.
- Cocoa Powder: Unsweetened cocoa powder adds depth to the chocolate flavor without making it overly sweet.
- Sweetened Condensed Milk: This sticky goodness holds everything together and gives that creamy texture we crave.
- Butter: Melted butter brings richness and helps bind the ingredients wonderfully.
- Peppermint Extract: Just a few drops of this potent extract will elevate your slice from ordinary to extraordinary.
- Dark Chocolate Chips: Use high-quality dark chocolate chips for drizzling over the top—it’s an essential finishing touch!
The full ingredients list, including measurements, is provided in the recipe card directly below.
Cooking Instructions
Follow these simple steps to prepare this delicious No-Bake Peppermint Slice:
Step 1: Prepare Your Base
Start by crushing about 250g of digestive biscuits into fine crumbs. You can use a food processor or seal them in a plastic bag and unleash your inner rock star with a rolling pin.
Step 2: Mix It Up
In a large bowl, combine the biscuit crumbs, unsweetened cocoa powder (about 3 tablespoons), melted butter (around half a cup), and sweetened condensed milk (one can). Add about one teaspoon of peppermint extract for that minty kick and mix until well combined.
Step 3: Create Your Layer
Spread the mixture evenly into a lined baking dish (about 9×9 inches) and press down firmly to create an even layer. A flat spatula works wonders here!
Step 4: Melt Some Chocolate
In another bowl, melt around one cup of dark chocolate chips in the microwave or over low heat on the stove until smooth. Make sure to stir frequently so it doesn’t burn—nobody wants burnt chocolate ruining this masterpiece!
Step 5: Drizzle Away
Pour the melted chocolate over your pressed biscuit base and spread it out evenly using that trusty spatula again. Don’t be shy; get creative with swirls if you’re feeling artistic.
Step 6: Chill Out
Cover it up and pop your creation in the fridge for at least two hours until set—this is where all those flavors meld together beautifully.
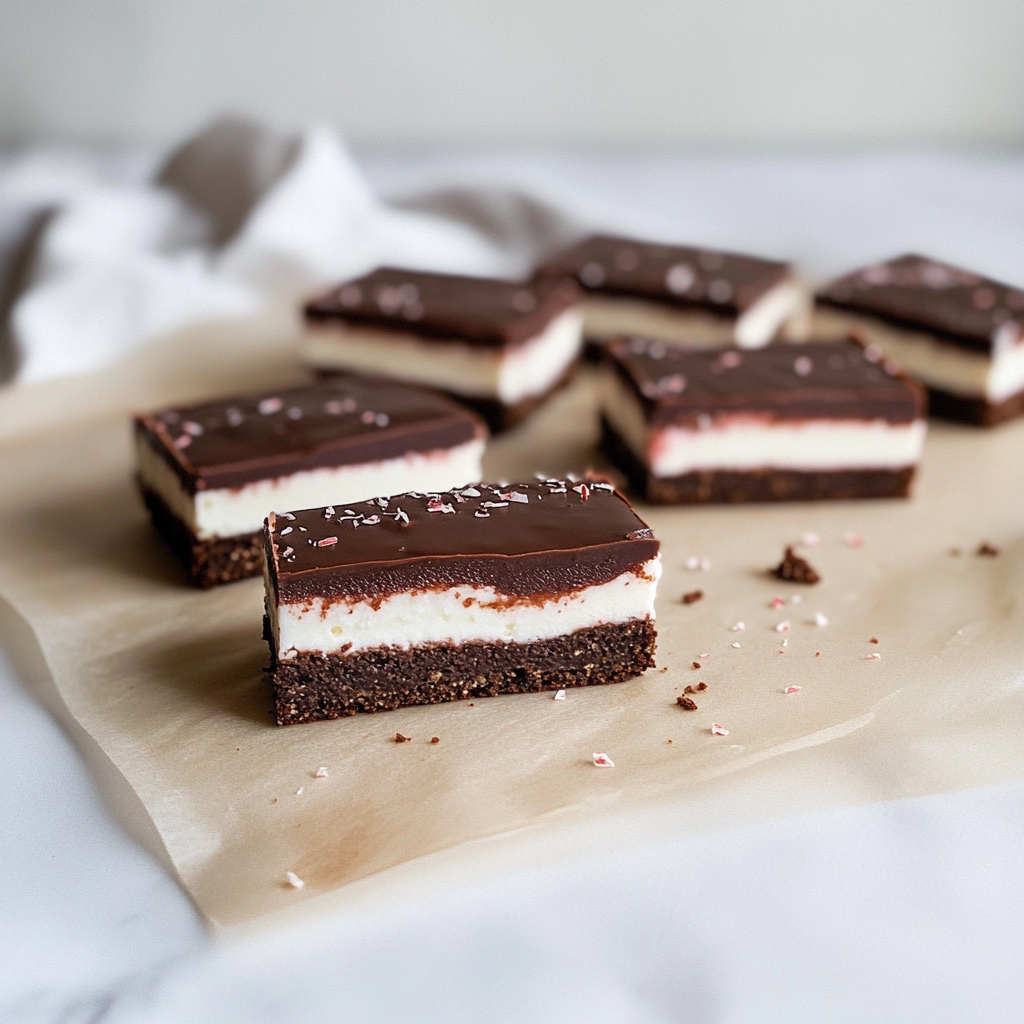
For serving suggestion: Once set, cut into squares and serve chilled. You can garnish with extra crushed peppermint candies on top for added flair!
There you have it—the ultimate crowd-pleaser recipe for No-Bake Peppermint Slice! It’s easy enough that you could whip it up while waiting for your oven-baked ham to finish cooking—or while binge-watching your favorite holiday movies. Enjoy every moment of this festive treat!
You Must Know About No-Bake Peppermint Slice
- This showstopping No-Bake Peppermint Slice delivers restaurant-quality results using simple ingredients you probably already have at home.
- The perfect balance of textures and flavors creates an unforgettable dining experience that will have everyone asking for seconds.
- Picture-perfect presentation with vibrant colors makes this dish absolutely Instagram-worthy and guaranteed to impress any dinner guest.
- Incredibly versatile recipe that works beautifully for weeknight dinners, meal prep, special occasions, or even outdoor entertaining sessions.
Perfecting Cooking Process
Start by mixing your base ingredients in a bowl. While that sets, melt the chocolate for the topping. This sequence keeps everything organized and prevents any chaos in the kitchen.
Flavor Your Way
Feel free to swap out the peppermint extract with vanilla for a different flavor profile. You can also add nuts or dried fruit for extra texture and taste variations.
Storing & Reheating
Store your No-Bake Peppermint Slice in an airtight container in the fridge for up to a week. Reheat gently in the microwave if you prefer it slightly warm.
Chef's Helpful Tips for No-Bake Peppermint Slice
- This professional-quality No-Bake Peppermint Slice relies on precise timing and temperature control to achieve restaurant-standard results consistently.
- Master the art of mise en place by prepping all ingredients beforehand, ensuring smooth execution and preventing any last-minute cooking disasters.
- The secret lies in layering flavors throughout the cooking process rather than seasoning only at the end for maximum depth.
- Pro tip: let the finished dish rest for optimal texture and flavor development before serving to hungry guests waiting eagerly.
Sharing this recipe takes me back to a holiday gathering where my aunt declared my No-Bake Peppermint Slice “the best thing she’d ever tasted.” Her enthusiasm had everyone coming back for seconds—and thirds!
FAQs
What is No-Bake Peppermint Slice?
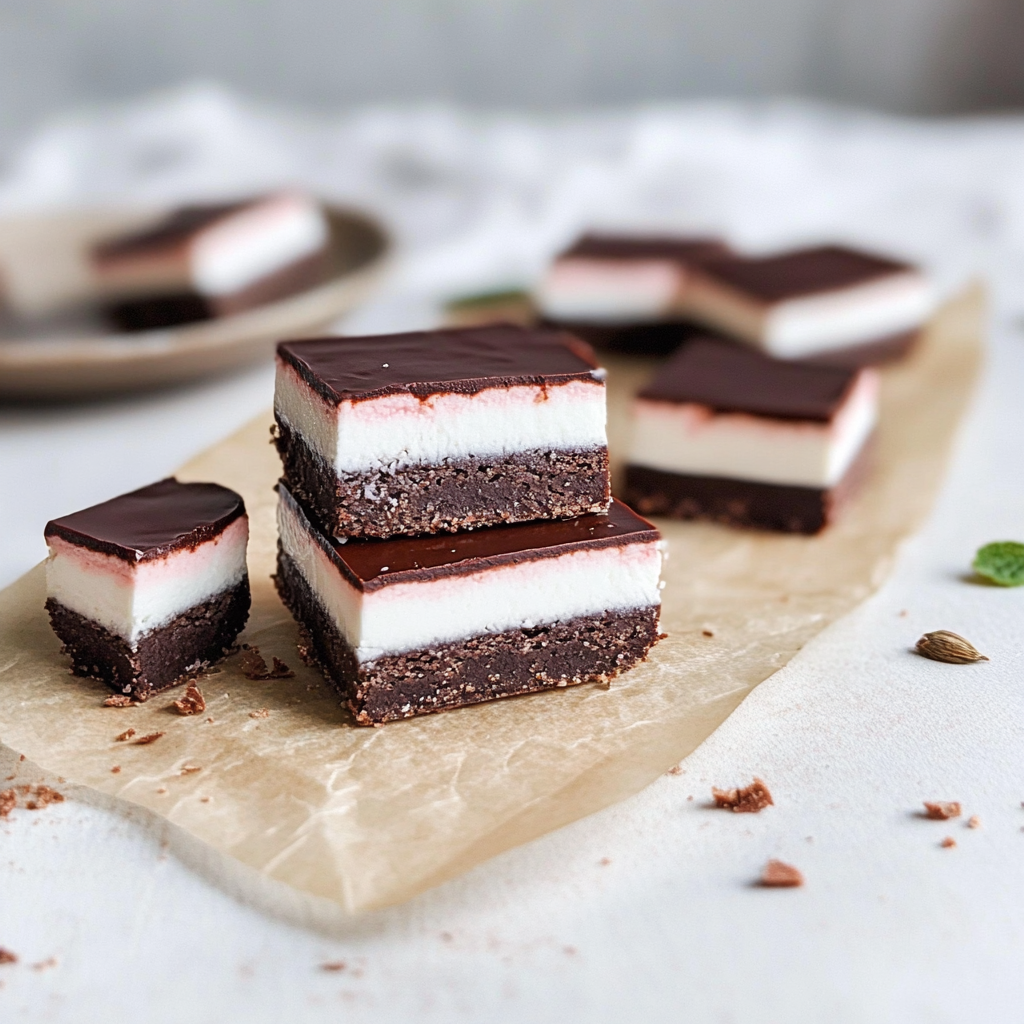
No-Bake Peppermint Slice is a delightful dessert that combines chocolate, crushed biscuits, and peppermint flavoring. This treat does not require any baking, making it an ideal choice for quick and easy preparation. It features a layered texture, with a creamy peppermint filling topped with a rich chocolate layer. Perfect for festive occasions or as a sweet snack, this recipe is loved for its simplicity and deliciousness.
How long does No-Bake Peppermint Slice need to set?
The No-Bake Peppermint Slice typically requires about 2 to 3 hours to set in the refrigerator. This chilling time allows the layers to firm up and develop their flavors fully. For the best results, consider leaving it overnight; this enhances the texture and ensures it cuts cleanly into squares. The longer it sits, the more enjoyable the taste becomes.
Can I customize my No-Bake Peppermint Slice?
Yes! You can easily customize your No-Bake Peppermint Slice by adding different toppings or mix-ins. Consider incorporating crushed candies, nuts, or even a drizzle of white chocolate on top. For those who prefer less sweetness, you can reduce the sugar in the filling or use dark chocolate instead of milk chocolate. Experimenting with flavors will make each batch unique!
Is No-Bake Peppermint Slice suitable for special diets?
The No-Bake Peppermint Slice can be adapted for various dietary needs. For gluten-free options, use gluten-free biscuits and ensure other ingredients meet gluten-free standards. If you’re looking for a vegan alternative, substitute dairy products with plant-based options such as coconut cream and dairy-free chocolate. These modifications allow everyone to enjoy this festive treat without any restrictions.
Conclusion
In summary, the No-Bake Peppermint Slice is an easy and delightful dessert that brings joy to any gathering. With its refreshing peppermint flavor and rich chocolate layer, it’s perfect for festive occasions. Remember to let it set properly in the refrigerator to achieve that ideal texture. Customize your slice with different toppings or adapt it for special diets for added versatility. Enjoy making this delicious treat!
No-Bake Peppermint Slice
- Total Time: 0 hours
- Yield: Approximately 16 servings 1x
Description
Indulge in the festive spirit with this No-Bake Peppermint Slice, a delectable dessert that blends creamy peppermint and rich chocolate in perfect harmony. This easy-to-make treat is ideal for holiday gatherings, offering a delightful combination of textures and flavors without the need for baking. With its stunning presentation, it’s sure to impress your guests while satisfying your sweet cravings.
Ingredients
- 250g digestive biscuits
- 3 tbsp unsweetened cocoa powder
- 1/2 cup melted butter
- 1 can (397g) sweetened condensed milk
- 1 tsp peppermint extract
- 1 cup dark chocolate chips
Instructions
- Crush the digestive biscuits into fine crumbs using a food processor or rolling pin.
- In a bowl, mix biscuit crumbs, cocoa powder, melted butter, condensed milk, and peppermint extract until well combined.
- Press the mixture into a lined 9×9 inch baking dish to form an even layer.
- Melt dark chocolate chips in the microwave or on low heat, stirring frequently until smooth.
- Pour melted chocolate over the base and spread evenly with a spatula.
- Refrigerate for at least 2 hours until set. Cut into squares and serve chilled.
- Prep Time: 15 minutes
- Cook Time: None
- Category: Dessert
- Method: No-bake
- Cuisine: American
Nutrition
- Serving Size: 1 serving
- Calories: 175
- Sugar: 11g
- Sodium: 46mg
- Fat: 10g
- Saturated Fat: 5g
- Unsaturated Fat: 4g
- Trans Fat: 0g
- Carbohydrates: 19g
- Fiber: 1g
- Protein: 2g
- Cholesterol: 15mg